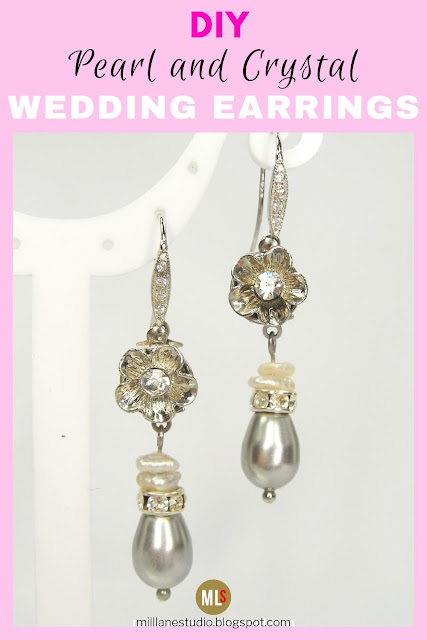
But back to the jewellery. This is the coordinating set: sparkly, elegant and perfect for Mother of the Bride or Groom. With its subtle colour, this set would even be lovely for a bride.
How to Make the Lustrous Pearl and Crystal Earrings
Shopping List
Here's what you'll need to recreate these easy earrings:
2 11x8mm Lt Grey Swarovski glass pearl teardrops
4 5mm white Keshi pearls - centre drilled
2 Clear 8mm Swarovski crystal rondelles
2 10-12mm Flower-shaped silver box clasps with inset crystal (these are similar)
2 Crystal encrusted silver earring wires
2 Beadalon silver plated ball head pins
Tools: flat nose pliers, round nose pliers, chain nose pliers, flush cutters.
String a teardrop, rondelle and two Keshi pearls on a head pin.
Bend the head pin just above the pearls using flat nose pliers.
Trim the head pin to 8mm (5/16").
Turn a simple loop with round nose pliers.
Open the loop sideways with chain nose pliers and hook on the box clasp. Close the loop.
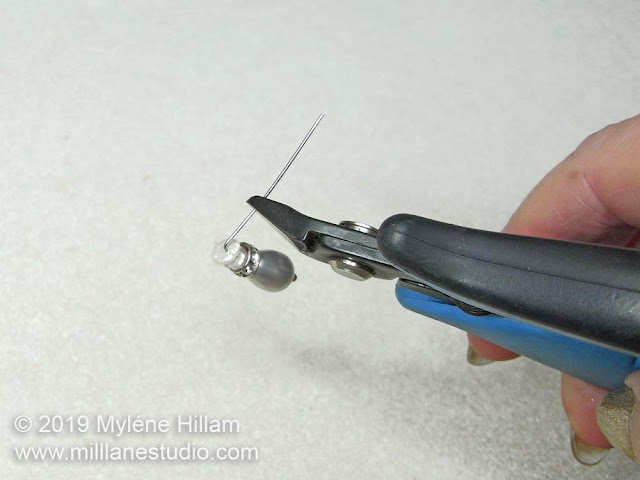
If your earring wire has a closed loop, use flush cutters to cut the loop of the earring wire open.
Open the loop sideways and hook on the other end of the box clasp.
Close it again with chain nose pliers.
Now make a matching earring with the remaining components.
As you can see, this is a quick design to put together, and yet the end result is a stunning pair of earrings that will add a touch of glamour to any special occasion. But why not also make the coordinating and very glamourous crystal and pearl necklace? It's an absolute show-stopper!
'Til next time.....

Want to learn how to make jewellery? Click here to find my books and printable pdfs
2 11x8mm Lt Grey Swarovski glass pearl teardrops
4 5mm white Keshi pearls - centre drilled
2 Clear 8mm Swarovski crystal rondelles
2 10-12mm Flower-shaped silver box clasps with inset crystal (these are similar)
2 Crystal encrusted silver earring wires
2 Beadalon silver plated ball head pins
Tools: flat nose pliers, round nose pliers, chain nose pliers, flush cutters.
String a teardrop, rondelle and two Keshi pearls on a head pin.
Bend the head pin just above the pearls using flat nose pliers.
Trim the head pin to 8mm (5/16").
Turn a simple loop with round nose pliers.
Open the loop sideways with chain nose pliers and hook on the box clasp. Close the loop.
If your earring wire has a closed loop, use flush cutters to cut the loop of the earring wire open.
Open the loop sideways and hook on the other end of the box clasp.
Close it again with chain nose pliers.
As you can see, this is a quick design to put together, and yet the end result is a stunning pair of earrings that will add a touch of glamour to any special occasion. But why not also make the coordinating and very glamourous crystal and pearl necklace? It's an absolute show-stopper!
Pin this Project!

Want to learn how to make jewellery? Click here to find my books and printable pdfs


Love how you made these component work for you! The earrings are stunning. I'm definitely sharing this. :)
ReplyDeleteThanks for sharing it, Hope - I really appreciate it.
ReplyDeleteI love it when jewellery components can be versatile like this. In this instance, the box clasps were a substitute for a vintage crystal component that I really wanted to use but I with only one of them in my stash so I had to find an alternative..... and the box clasps were a good solution.