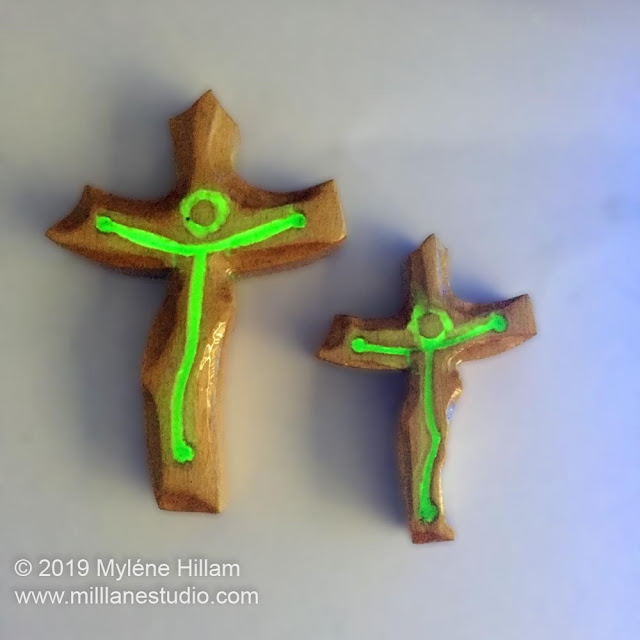
My Dad and I have been doing some collaborative wood and resin pieces recently. We love spending time together in his shed and apart from enjoying each other's company, we love watching each other's skills in action. For this project, he carved some hand-sized crucifixes from wood. He makes them for his local Church and school community but for this project he also carved a slot from front to back with the scroll saw to represent Jesus. Pretty impressive!
Then it was over to me to add the resin and I decided to use Glow in the Dark powder so you could see the crucifix even when the lights are out.
Here's what I used:
Packing tape
Disposable gloves
Utility knife
I also worked on a non stick craft sheet in case I had any leakage.
Before mixing any resin, I taped up the back of the cross with the packing tape. It's important to burnish the tape well to prevent the resin seeping out. As it turned out, there was still some seepage (as you'll see later) because the crucifix is made of rubber wood and it's very porous.
I measured out the resin and hardener in equal quantities. I didn't need much for this project but I mixed extra so I could do some other projects afterwards.
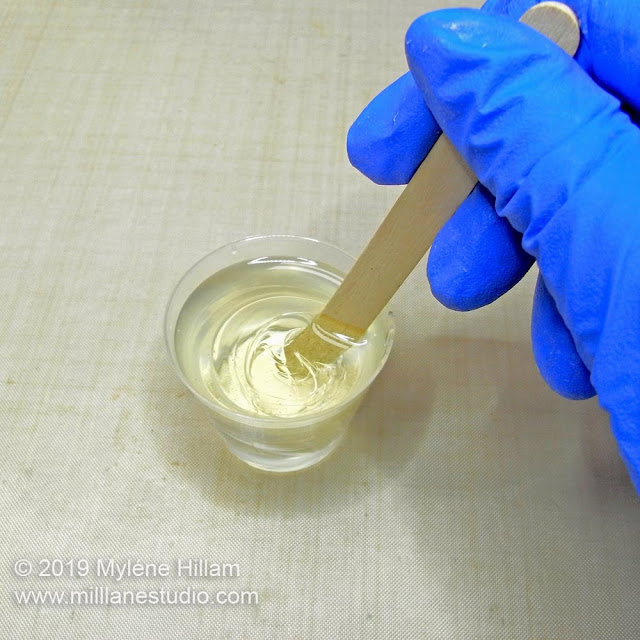
It's important to mix the resin according to the manufacturer's instructions, no matter which resin you use. For EasyCast, you mix it for two minutes in one cup and then pour it into a second cup and mix it for another minute to make sure that it's chemically combined. This two step process really does work.
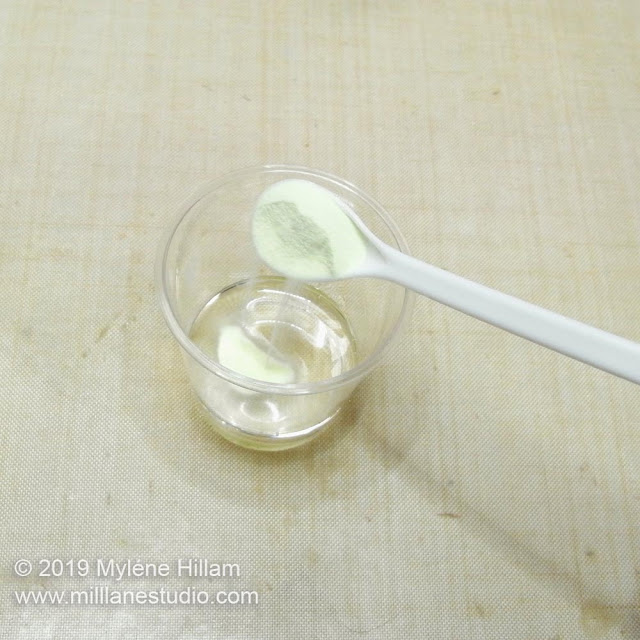
To get a good result, you need to add the GITD powder at either a 1:4 or 1:5 ratio with the resin so that you get a good glow. I used a 1:4 ratio so it would be brighter and mixed it through the resin. It doesn't dissolve in the resin and it's quite heavy so it settles in the cup to start with but I found that as the resin thickened, it stayed suspended.
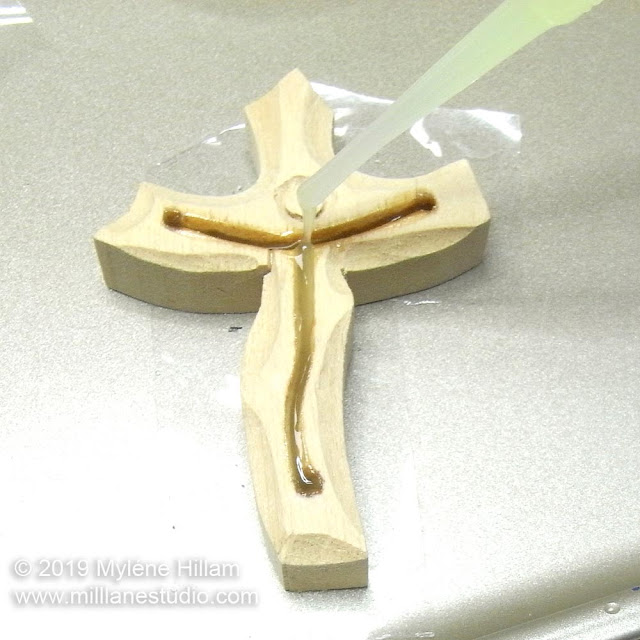
Because the opening in this piece is very narrow, I found the best way to get the resin into the slot is with a pipette.
It was a slow process to carefully transfer the resin into the opening of the crucifix because I wanted to make sure that the resin ran down the walls and didn't create air pockets. Any spills on the wood can easily be wiped off because the powder hasn't dissolved. Once I'd filled the opening to the top, I left the resin to cure for 24 hours.
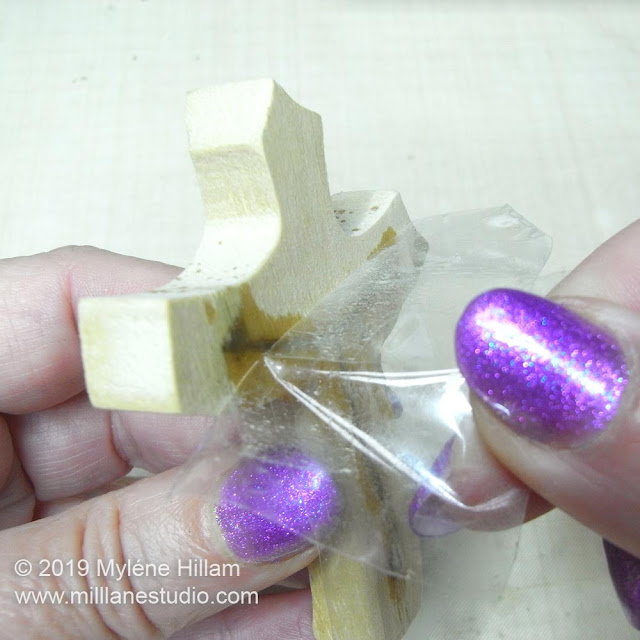
Next day, I peeled away the tape from the back of the crucifix.
You can see how the resin has seeped into the wood in a few places. Once the resin is fully cured, clean it up with a utility knife so that only the body will glow.
Despite how carefully I applied the resin to the slot, it bled onto the surface of the wood so I decided to coat the whole crucifix with resin. For this process, I'm using a UV resin so that I can cure it instantly with the UV light before it has a chance to run over the carved edges. I'm using a toothpick to spread it thinly.
Safety First! It's important when you're working with the thin hard type of UV resin that you have good ventilation or wear a respirator. AND I should be wearing gloves! Be sensible when working with resin... protect your eyes and your skin.
And now it's time to charge it under the light - it glows so brightly and looks fabulous.
Don't expect it to hold its glow for very long though. What I found is that in such a thin slot, it won't hold the charge very long, even though Strontium Aluminate powder has the brightest glow you can get. But it's still a really cool way to use GITD powder.
Pin this Project!
Happy Resining!

Subscribe to my email list and learn how to resin like an expert.


