The Perfect Handmade Gift for the Geek in Your Life
Remember that iconic 70s and 80s arcade game, Space Invaders? For those of us old enough to remember, this project is a fun throwback to your teenage years. This resin Space Invaders coaster would make a great gift for the geeky person on your gift list.
This project is a variation of the Tetris coaster tutorial at Resin Obsession.
Supply list
- Epoxy Casting resin
- Bright green pigment
- Black pigment
- Silicone trivet with square holes
- Square silicone coaster mould - mine measures 9.7cm (3 7/8")
- Packing tape
- BBQ torch or gas lighter
- Scissors or utility knife
- Plastic measuring cups
- Wooden stir sticks
- Toothpick
- Gloves
Work out the volume of your mould by filling it with rice and tipping it into a measuring cup.
Mix enough resin to two thirds fill the mould. Mix it well and then divide it between two cups. Colour one green and the other black. Pour the black resin into the bottom of the coaster mould and set it aside to cure.
Mix enough resin to two thirds fill the mould. Mix it well and then divide it between two cups. Colour one green and the other black. Pour the black resin into the bottom of the coaster mould and set it aside to cure.
Spoon the green resin into the trivet in the shape of a Space Invader. See the bottom of this post for some pixelated alien characters.
Make sure the Space Invader will fit inside your coaster mould. My mould can fit a maximum of 11 pixels from this trivet. Check how many squares from your trivet will fit inside your mould.
Use the toothpick to push the resin into every corner of the pixels, pop the bubbles and set the resin aside to cure.
Place packing tape across the back of the Space Invader and peel the Space Invader out of the trivet.
Mix enough resin to fill the mould. Pour a thin layer on the black and place the Space Invader on top. Top up the mould and then tease out any bubbles. Leave the resin to cure.
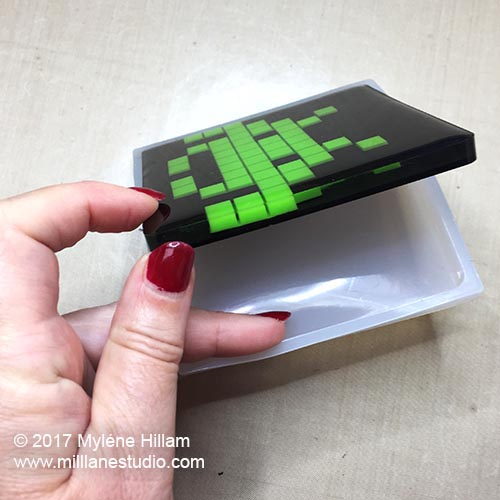
Gently peel away the silicone from the resin and pull the coaster out.
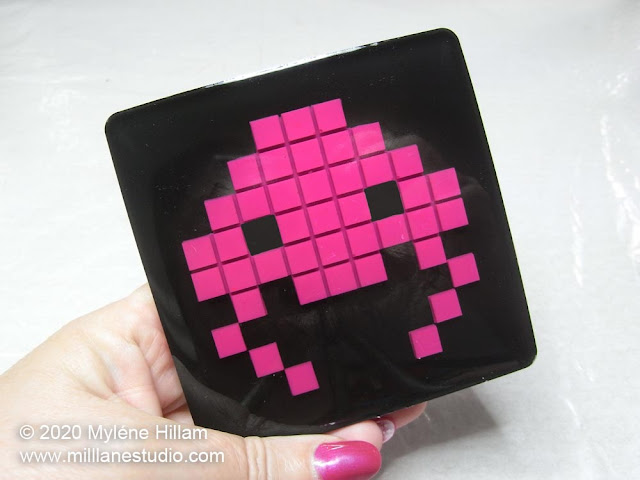
And your new coaster is ready to use!
If you prefer to cast a square of resin pixels rather than the shape of the alien, then follow these steps instead:
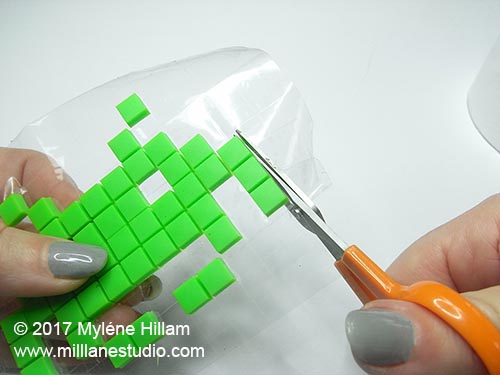
Once the resin is cured, use scissors or a craft knife to cut the alien to shape. You will need to cut some individual pixels too, as not all the pieces will stay attached.
Measure, mix and pour the black resin into the coaster mould as before. Allow it to cure, then place the alien into a thin layer of clear resin. Position individual pixels as needed to complete the alien.
Here are some other pixelated alien characters you might like to try. Use them for any pixel-based crafts such as Perler beads, knitting/crocheting, cross-stitch, diamond painting or plastic canvas crafts. Click here to download them.
And here's how they turned out:
Pin this Project!
If you enjoyed this project, you might also like this one:
Tetris Resin Coaster Tutorial
Happy Resining!

Subscribe to my email list and learn how to resin like an expert.


